Agent Responses Quick Start (Server-side Application)
This document uses the scenario of “terminal device capturing images for recognition” as an example to demonstrate how to:
- Create a terminal device model in the Ticos Cloud platform.
- Register terminals to be supported.
- Send images and parse the returned content through the Agent Responses API in a server-side application.
Before reading this guide, please make sure you have completed account registration and obtained an API Key.
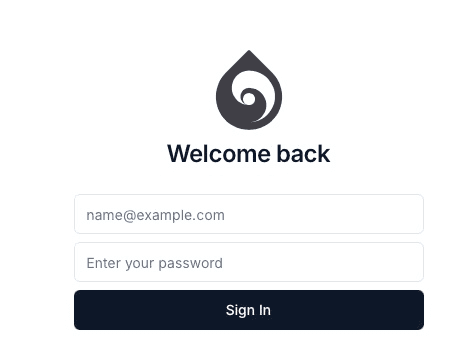
1. Log in to the Platform
Visit https://cloud.ticos.ai and log in with your account.
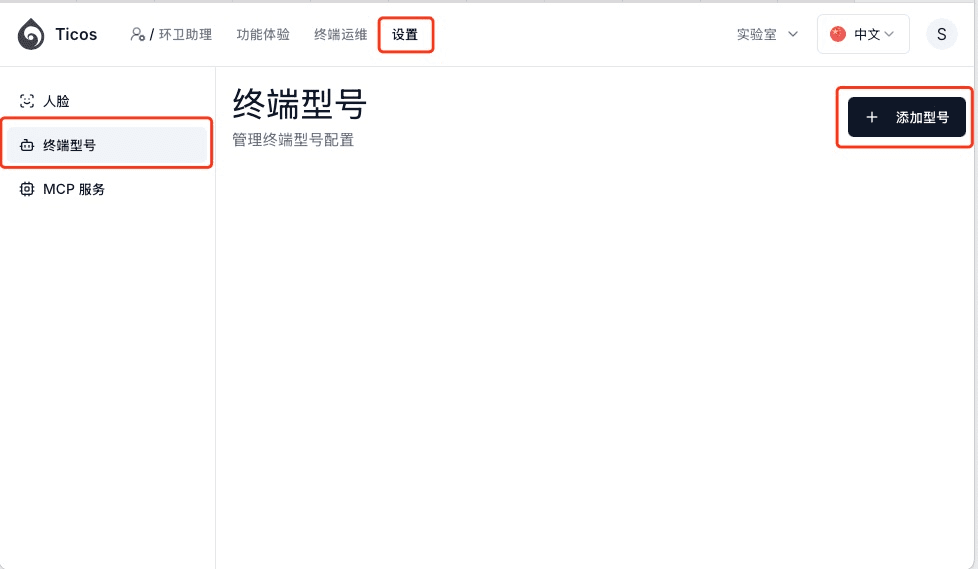
2. Create a Terminal Model
- Select Settings → Terminal Models → Add Model from the navigation bar.
- Fill in the following information in the popup:
- Terminal Type: Select the type that suits your device, such as
Camera. If there is no matching type, you can safely select “Other”, which will not affect the actual functionality. - Brand / Manufacturer, Model Name, Description: Fill in the actual information.
- Upload a photo of the terminal model and enable Published.
- Terminal Type: Select the type that suits your device, such as
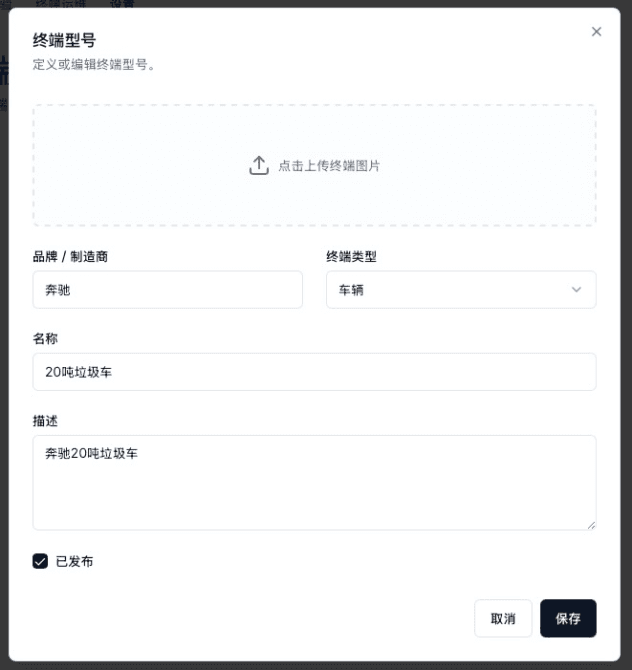
- Click Save.
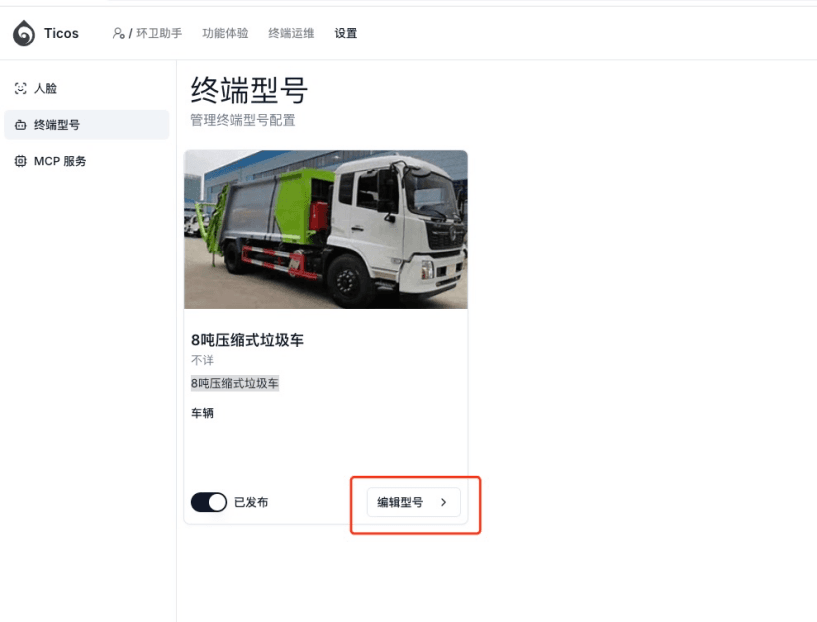
After saving, you will return to the list. Click “Edit Model” to enter the next level interface. The number at the end of the browser address bar is the model ID. Record it for later use when accessing the API.
3. Register Terminal Devices
- Select Terminal Ops → Terminals → Add Terminal.
- Fill in the following information:
| Field | Description |
|---|---|
| Name | Any easily identifiable name |
| Terminal ID | Unique terminal device ID |
| Terminal Model | Select the terminal model created in step 2 |
| Location, Description, etc. | Fill in as needed |
- Save and repeat the above process until all terminals are registered.
4. Create an Agent
Before calling the Agent Responses API, you need to create an agent and ensure it uses OpenAI as the model provider.
- Select Embodied Agents → Create Agent from the navigation bar.
- Fill in the agent name, description, and other basic information.
- In the Models tab, make sure to select OpenAI as the model provider.
- It is recommended to choose a model with vision capabilities (such as GPT-4o) to process image inputs.
- Enter the desired business logic in the agent’s “Instructions”, for example:
- Count how many people are in the image and return in JSON format
{"count": n}.
- Count how many people are in the image and return in JSON format
- After creation, record the Agent ID (which can be obtained from the browser address bar).
For detailed configuration of agent models, please refer to the Agent Model Configuration documentation.
5. Call the Agent Responses API
The following example demonstrates how to call the API using curl and pass terminal model ID, terminal ID, and other information in the request headers.
curl -X POST "https://api.ticos.ai/v1/agents/<AgentID>/responses" \
  -H "Content-Type: application/json" \
  -H "Authorization: Bearer <Your-API-Key>" \
  -H "X-Model-ID: <ModelID>" \
  -H "X-Client-Identifier: <TerminalID>" \
  -d '{
        "input": "http://<your-domain>/path/to/image.jpeg"
      }'
Placeholder explanations:
| Placeholder | Meaning |
|---|---|
<AgentID> | Agent ID, can be obtained from the agent details page URL |
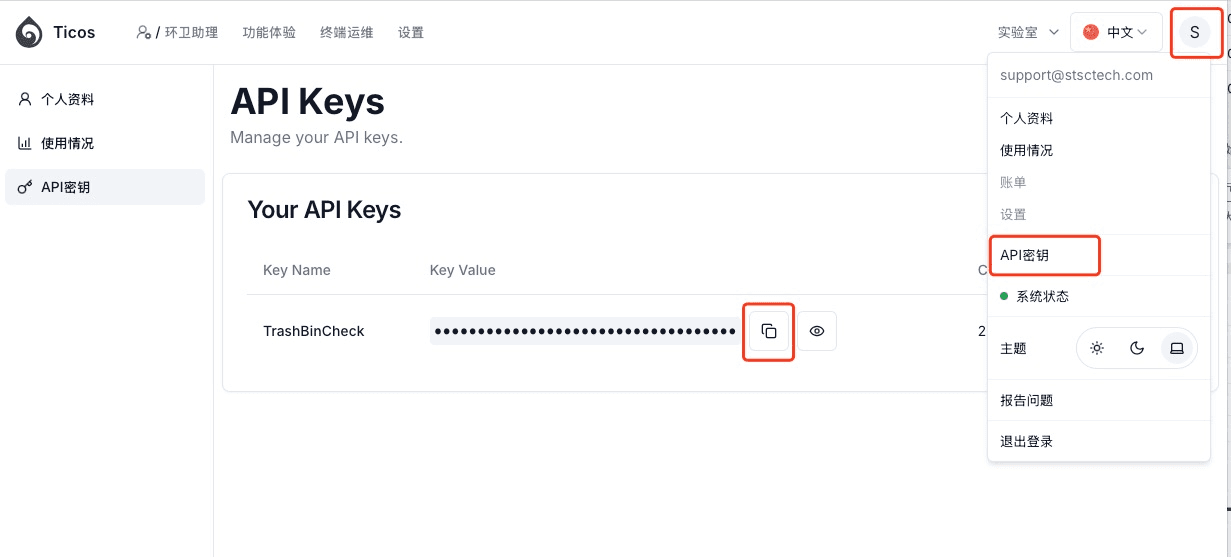
<Your-API-Key> | Obtained from User Menu → API Keys |
<ModelID> | Terminal model ID recorded in step 2 |
<TerminalID> | Terminal ID filled in step 3 (can contain special characters after URL Encoding) |
The API-Key is shown below. You can copy an existing API key or create a new one from User Menu -> API Keys.
Input Parameter Explanation
The format of the input parameter refers to the OpenAI API Documentation . The specific content to be provided depends on the business requirements defined in the agent. For example, if the agent is configured to count the number of people in an image, an image URL should be provided.
Return Example
After a successful call, the service returns JSON:
{
  "id": "chatcmpl-BD4u9UtDK3gQBRi3SAZ96KRFGpEFO",
  "object": "chat.completion",
  "created": 1742456817,
  "model": "gpt-4o-2024-08-06",
  "choices": [
    {
      "index": 0,
      "message": {
        "role": "assistant",
        "content": "{\n  \"count\": 1\n}"
      },
      "finish_reason": "stop"
    }
  ],
  "usage": {
    "prompt_tokens": 349,
    "completion_tokens": 42,
    "total_tokens": 391
  }
}
The choices[0].message.content string is the JSON data needed for the business, which can be parsed as needed.
6. Common Issues
| Issue | Solution |
|---|---|
| API returns 401 Unauthorized | Check if the X-API-Key is correct and if the key has been revoked |
| API returns 404 Not Found | Confirm that the AgentID and model ID exist and are published |
By completing the above steps, you can quickly integrate the Ticos Agent Responses service into your required server-side application scenarios.