Terminal Quick Start
This document uses a “robot terminal” scenario as an example to help you quickly complete the following tasks on the Ticos Cloud platform:
- Create a robot terminal model.
- Create a terminal device and obtain the terminal key.
- Obtain the Agent ID.
- Install and configure ticos-agent on the device.
- Start the agent and integrate with the SDK for development.
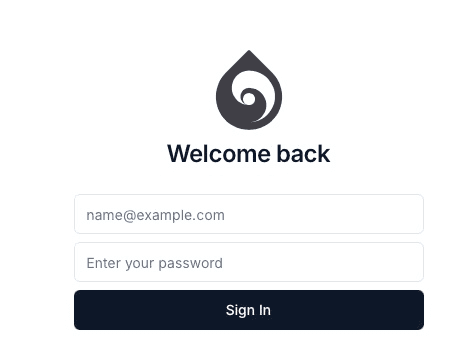
1. Log in to the Platform
Visit https://cloud.ticos.ai and log in with your administrator account.
2. Create a Robot Terminal Model
- Select Settings → Terminal Models → Add Model from the sidebar.
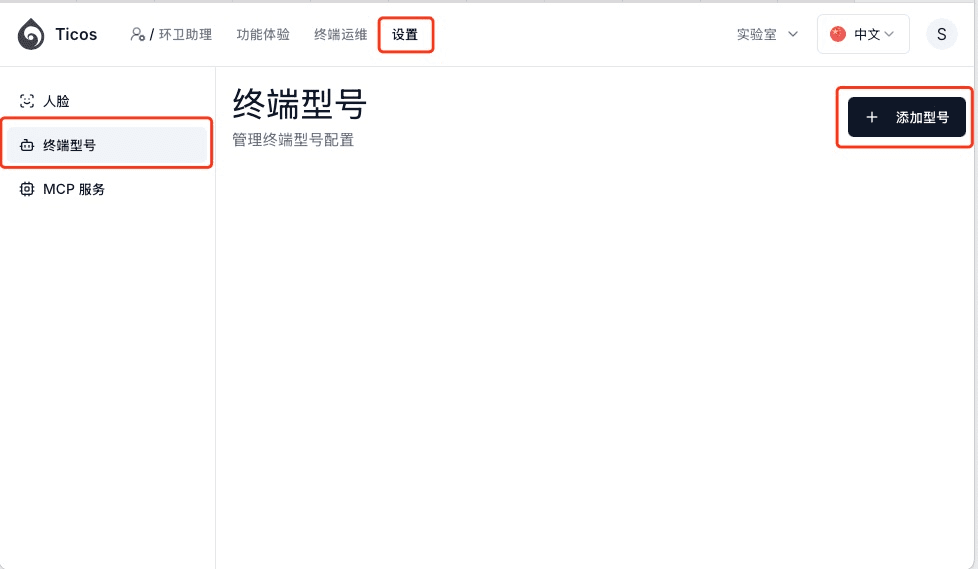
-
Fill in the following information in the popup:
- Terminal Type: Select
Robot. - Brand / Manufacturer, Model Name, Description: Fill in according to your actual situation.
- Upload a device photo and check Published.
- Terminal Type: Select
-
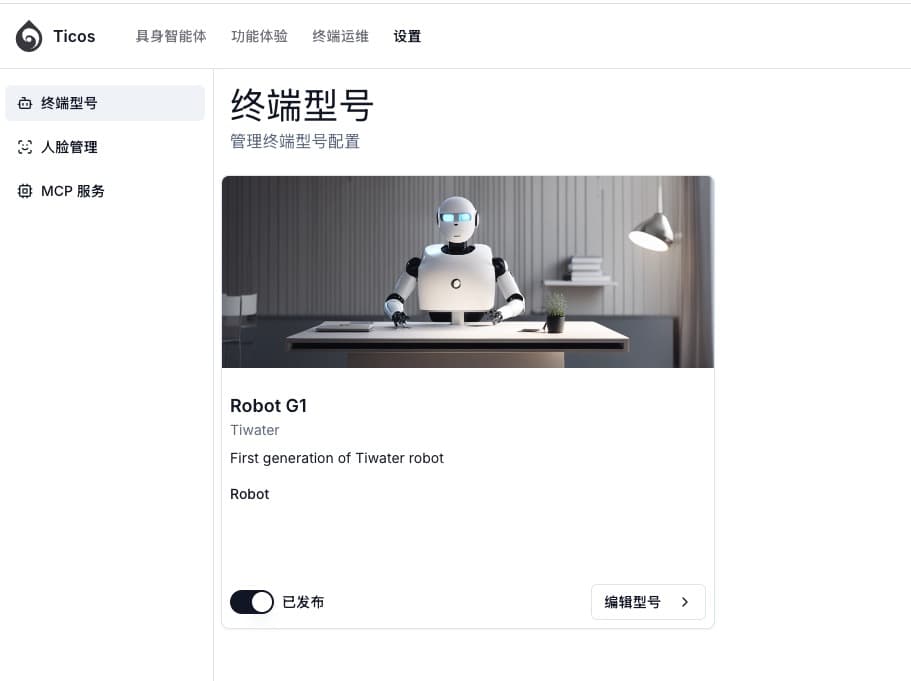
Click Save.
The interface after saving will look like this:
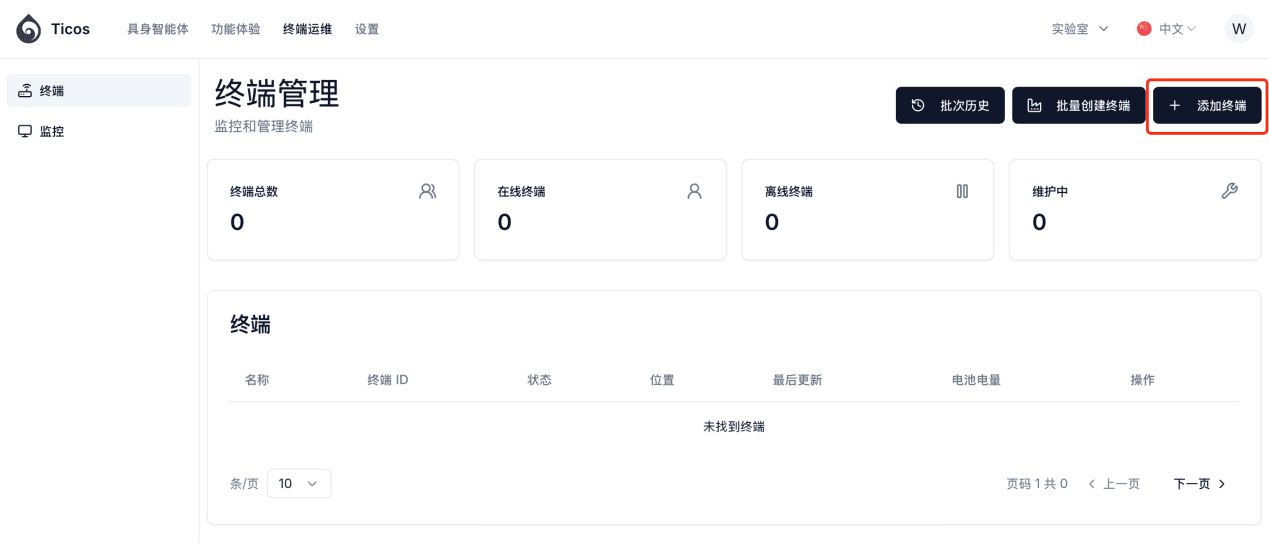
3. Create a Terminal Device and Get the Key
- Select Terminal Ops → Terminals → Add Terminal.
- Fill in the form:
| Field | Description |
|---|---|
| Name | Any easily identifiable name |
| Terminal ID | Unique device ID (can be auto-generated by clicking) |
| Terminal Model | Select the robot model created in step 2 |
| Location, Description, etc. | Fill in as needed |
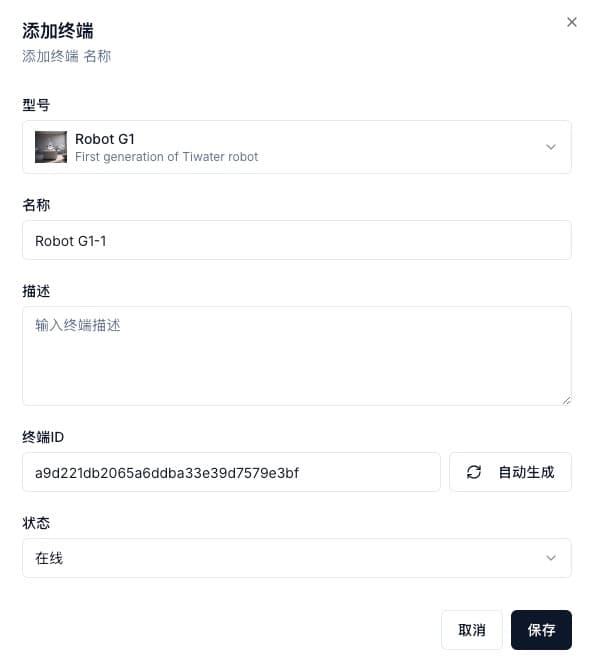
- Click Save.
If you need to create multiple devices at once, you can use the Batch Create Terminals feature and download the list of terminal IDs and keys.
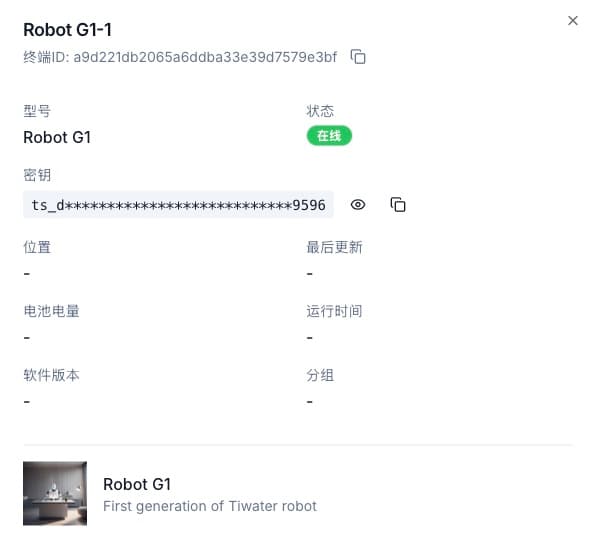
In the terminal list, click View Details in the Actions column to copy the terminal API Key, which will be used for device configuration later.

4. Obtain the Agent ID
- Select Embodied Agents (or the name of the most recently visited agent) from the top navigation bar.
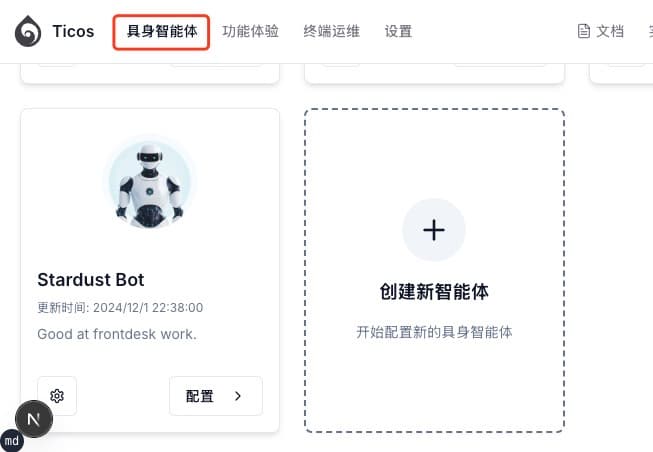
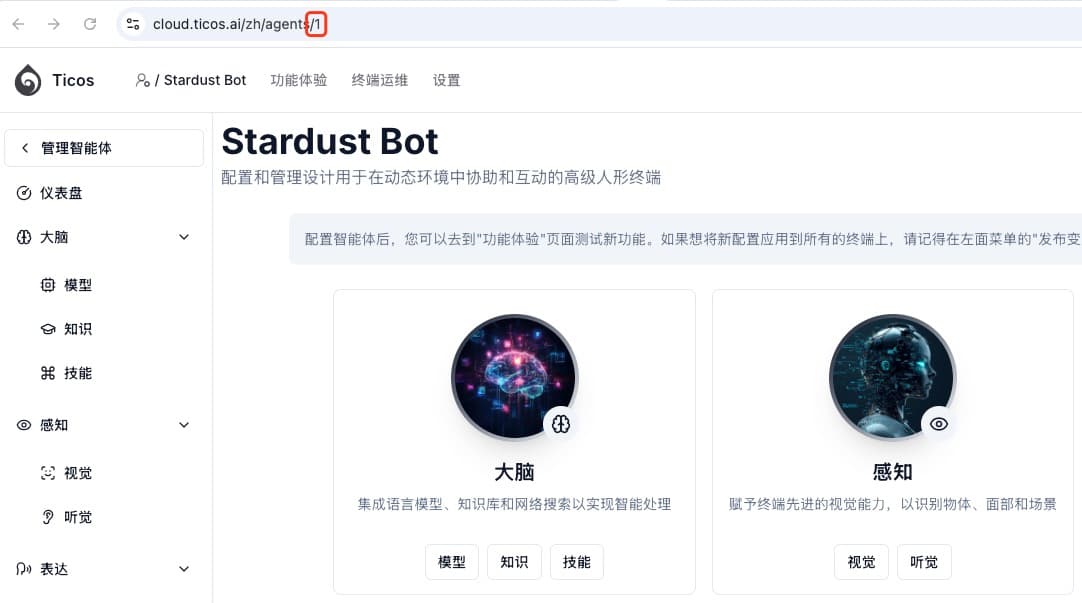
- Create a new agent or select an existing one, then click Configure. For detailed agent configuration, please refer to the Agent Configuration documentation.
- The last group of numbers in the browser address bar is the Agent ID. Please record it for later use when configuring ticos-agent.
5. Install ticos-agent
Currently, only Linux (Aarch64) systems are supported. If you need support for other systems, please contact the Ticos team.
Obtain the installation package ticos-agent-<version>-arm64.deb from the Ticos team, copy it to the target device, and execute:
sudo dpkg -i ticos-agent-<version>-arm64.debThe version number depends on the actual package.
6. Configure ticos-agent
Execute:
ticos-agent configFollow the wizard to input or select:
? Enter agent ID (agent_id) · <AgentID>
? Select API service address › wss://stardust2.ticos.cn
? Enter API key · <Terminal Key>
? Select your microphone › HK-DXMIC-V1.0 Analog Stereo
? Select your speaker › HK-DXMIC-V1.0 Analog Stereo
Do you have a camera? (y/n) › y
? Select your camera › USB Camera 1080P
VAD threshold (%) · 60
VAD silence threshold (dB) · -20
VAD silence minimum duration (ms) · 200
? Enter actuator address · 127.0.0.1:9999
7. SDK Development
To enable applications to communicate with ticos-agent and utilize its capabilities, you need to use the ticos-client SDK.
Obtain the SDK
- GitHub repository: https://github.com/tiwater/ticos-client
- Supported languages:
- Python
- Java (not synchronized, please contact the Ticos team if needed)
- Other languages are under development
Run Example Code
Before developing your own application, we recommend running the example code to experience the functionality.
Python Example
- Clone the repository to your terminal device:
git clone https://github.com/tiwater/ticos-client.git
cd ticos-client/examples/python- Install dependencies:
pip install -r requirements.txt- Run the example:
python Main.py8. Start ticos-agent
On your terminal device, open a new command line window and start ticos-agent in one of the following ways:
Direct Run
ticos-agent startStart as a User Service (Recommended)
systemctl --user start ticos-agentView Logs
journalctl --user -u ticos-agent -fStop ticos-agent
systemctl --user stop ticos-agentWhen you hear a “beep” sound, it means the connection to the cloud is successful. You can now interact with the agent via the device’s microphone.
9. Integrate into Your Own Application
Through the ticos-client SDK and ticos-agent, you can implement the following functions:
- Voice Interaction: Send voice streams and receive speech synthesis results
- Text Dialogue: Send text prompt messages and receive agent responses
- Image Stream Recognition: Send image streams and obtain analysis results, face recognition results, etc.
- Action Control: Receive action commands generated by the agent
After integrating the SDK, you can call large model capabilities, action commands, and other functions to implement custom robot applications.
After completing the above steps, your robot terminal has successfully connected to Ticos Cloud and you can start developing embodied intelligence applications.